CPPI
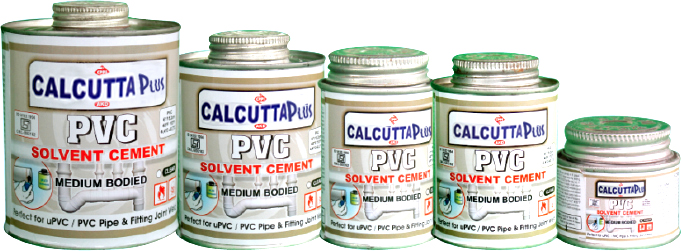
CALCUTTA Plus™ Solvent Cement
CALCUTTA Plus™ Solvent Cement
The quality of solvent cement plays very important rolein solvent weld plumbing. The quality of solvent cement has total influence over the joint strength. Considering the important fact company started manufacturing
solvent cement under strict stringent quality control. The containers (Tin) has unique design with the neck and cap with integral brush in plastic material. This ensure air tight closure and eliminate any contaminations.
The compant has introduced solvent cement under the brand name of "CALCUTTA Plus". Our solvent cement for PVC is made availale in different varieties:
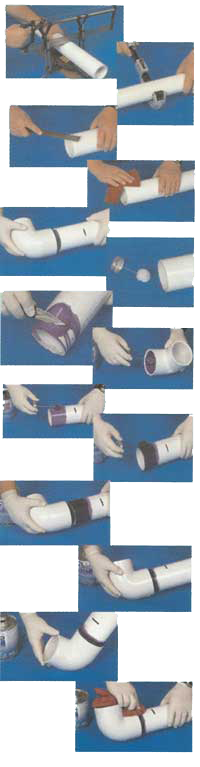
Joining Instruction
• Observe all safety precautions.
• Systems should be installed in a good and workmanlike manner consistent with normal industry standards and in conformance with all local plumbing,fire and building code requirements. Failure to follow proper installation practices,procedures or techniques can result in system failure,property damage or personal injury.
• Pipes and fittings should be used for their intended purpose as defined by local plumbing and building codes and the applicable ASTM standards.
• Follow manufacturer’s instructions for all related products.
1. CUT PIPE: Cut pipe square. As joints sealed at the base of the fitting socket. An angled cut may result in joint failure. Acceptable tools includes miter saw,mechanical cut off saw or wheel cutter. Wheel type cutters myst employ a blade designed for plastics.
2. REMOVE BURR AND BEVEL: Remove all burr from inside and outside of pipe with a kinife-edge, file or deburring tool. Chamfer(bevel) the end of the pipe 100-150.
3. CLEAN : Remove surface dirt,grease, or moisture with a clean dry cloth.
4. DRY FIT: With light pressure,pipe should go one third to one half of the way into the fitting socket. Pipes and fittings that are too tight or too loose should not be used.
5. CEMENT: Apply a full even layer of cement to the outside of a pipe and medium layer of cement to the inside of a fitting.
6. JOIN PIPE AND FITTINGS: Assemble pipe and fitting socket till it contacts socket bottom. Give pipe a quarter turn. Hold pipe and fitting together until the pipe does not back out, Remove excessive cement from the exterior. A properly made joint will show a continous bead of cement around the perimeter.